
There are two ways to assign a sidebar to posts or pages.
- Globally for a specific type of page via Theme Options.
- Separately for a specific post/page via Metabox Options (meta box) in the page/posts editors.
Assigning a Sidebar to Single Posts
Globally for a specific type of pages via Theme Options > Single Post Settings > Single Layout > Assign a Sidebar.
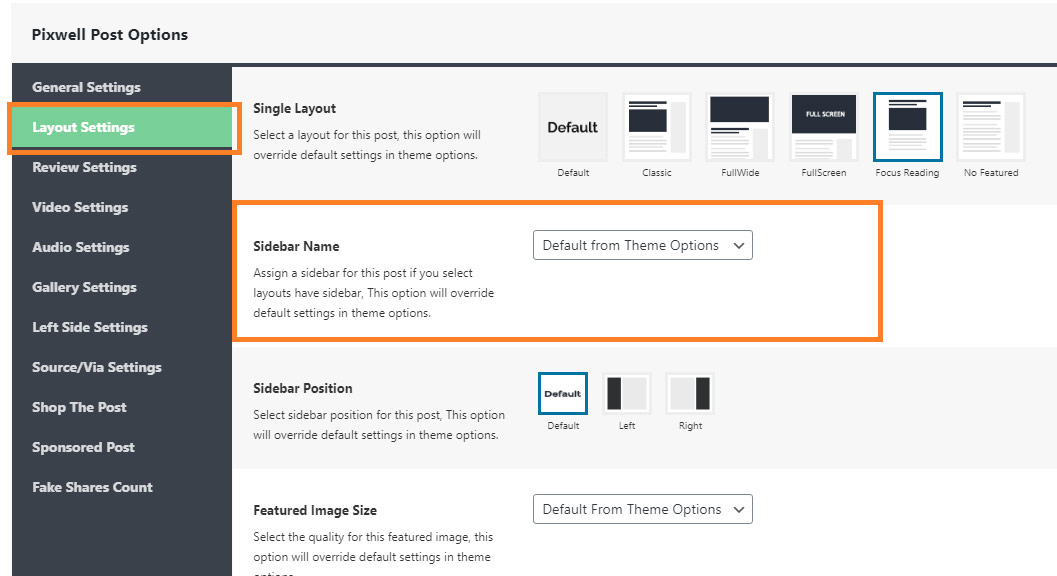
Separately for a specific post:
- Navigate to Posts -> Edit
- Scroll down the page to find the “Pixwell Post Options” panel, Select Layout Settings tab.
- Select a sidebar under the “Sidebar Name” option.
If you cannot see the panel, Ensure that you checked “Pixwell Post Options” in the options. please refer to the Cannot see meta box settings panel for further information.
Assigning a Sidebar to Single Pages
As the default, Pixwell will assign default sidebar to all single pages.
To assign a sidebar to a page. Follow the steps below:
- Navigate to Pages – Edit
- Scroll down the page to find the“Page Options Panel”
- Under the “Sidebar Name” option, select a sidebar you want.
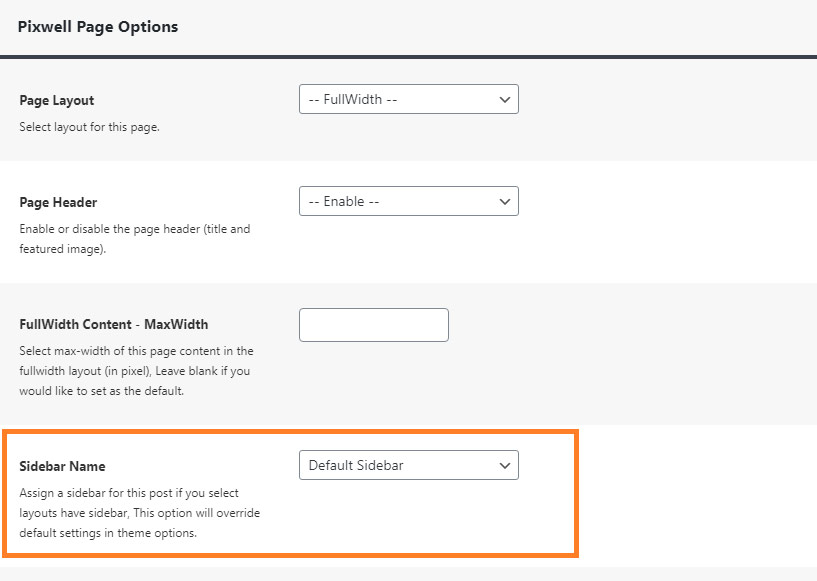
- Click on the Update the page to save your changes.
Assigning a sidebar to category pages
Globally for all categories via Theme Options -> Category Page Settings -> Assign a Sidebar.
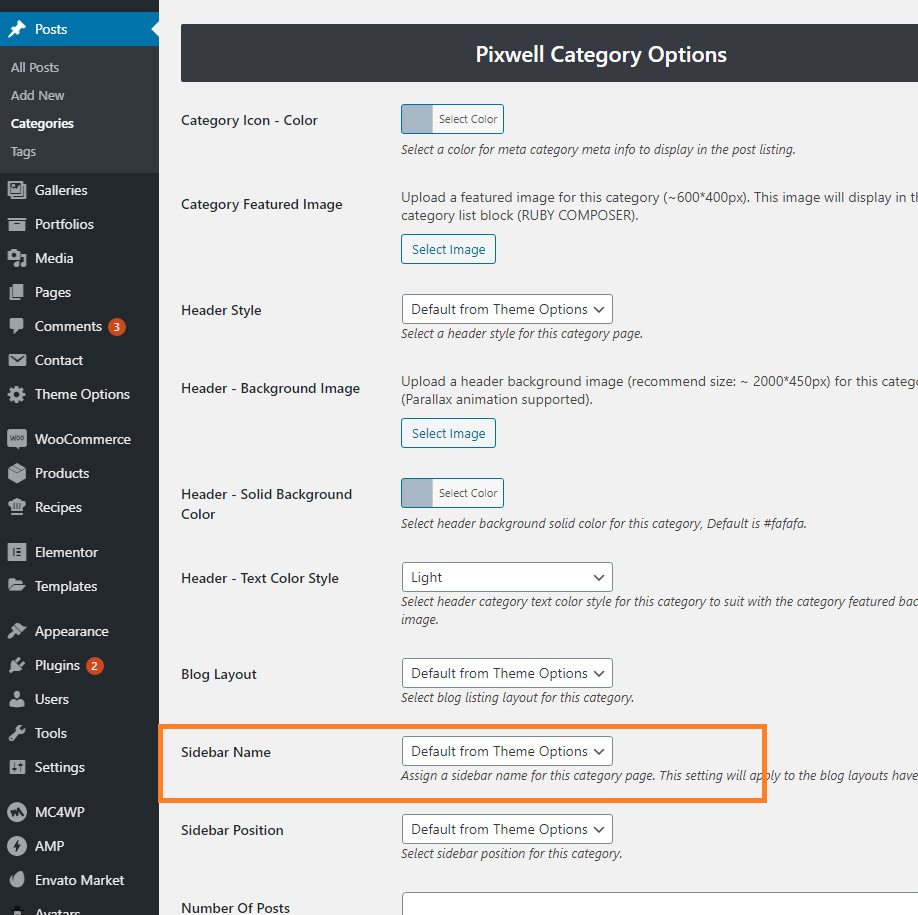
Separately for a specific category:
- Navigate to Posts -> Categories
- At the right of the screen, select a category you want to edit, and click on the “edit“ link.
- Scroll down the page, then find”Sidebar Name” of this category, Select a sidebar you want.
Assigning sidebars to archive pages
- Archive page Navigate to Theme Options -> Archive Page Settings -> Assign a Sidebar.
- Search page: Navigate to Theme Options -> Search Page Settings -> Assign a Sidebar.
- Author page: Navigate to Theme Options -> Author Page Settings -> Assign a Sidebar.