This tutorial gives detailed information on how to use Loco Translate plugin to Pixwell.
Loco Translate is a WordPress plugin for translating themes and plugins. It generates a PO file from the POT file then compiles it to MO file on the fly as soon as you can start to translate the theme or plugins.
How to install the plugin
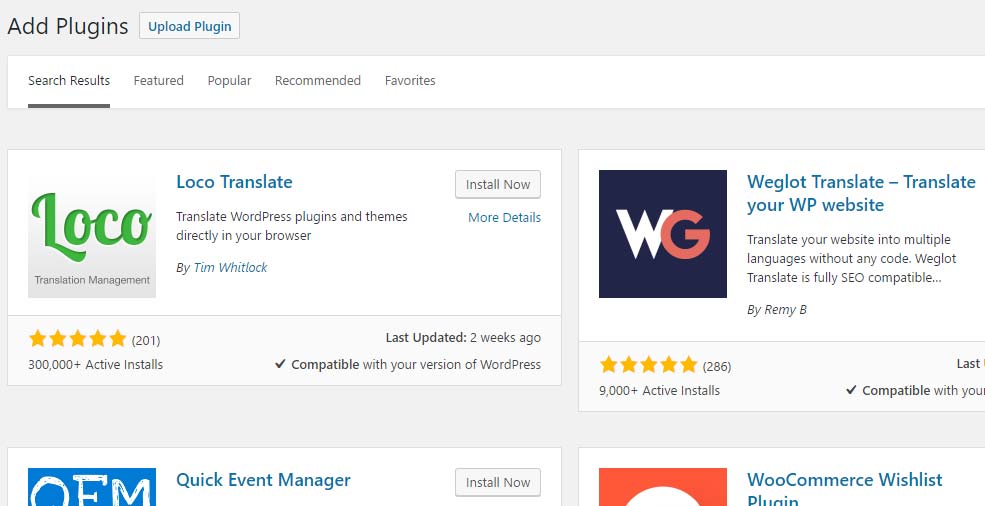
Navigate to WordPress Dashboard > Plugins > Add New menu and search for Loco Translate to filter out the plugins list and click on the Install button to install the plugin

Activate the plugin after the installation is finished.
How to Translate using Loco Translate
Follow the steps below to translate the theme with this plugin:
- Tell WordPress what language to use. Navigate Settings > General > Default Language and select your language.
- Go to WordPress Your dashboard > Loco Translated > Themes to access the main translation page of the plugin. This page will take you to a list of all available themes in your WordPress.
- In the Theme Page, select pixwell
- Click on “New Language” link.
- Select a language from the dropdown list of common languages. In this example, we’ll select ‘Greek’. You could achieve the same result by entering “el” (language code) into the text field instead. To keep the translation files safe after theme update, select Custom or System from Choose a Location option. If you are using a Child theme, only Custom or System option should be chosen.
- With the language and folder location selected, click the “Start translating” button and you’ll be taken to the editor screen for translating the theme.
Translate some strings
- Once on the editor screen, you’ll see all the strings the theme has defined. Untranslated strings are shown in bold blue. To start with they will all be untranslated.
- The basics of the editor should be fairly intuitive. Select the English string at the top and enter your translation in the pane at the bottom. You can ignore most of the editor buttons for now. We’re just going to enter a translation and save it.
- Continue to translate as much as you like and when you’re ready to click the Save icon in the editor toolbar. Congratulations, you’ve saved your first WordPress translation.
Check the Result
Now you can go to the front end of the website and see the translated string has been applied.
That’s all.
