
The theme comes with the custom meta feature. That allows you to create your own meta label and display in the blog post listings or single post ie: 35 min reading, 35 min cooking..
To Getting started, follow the steps below:
- Navigate to Theme Options >Styles & Design
- Refer to the “Custom Entry Meta Settings” Section.
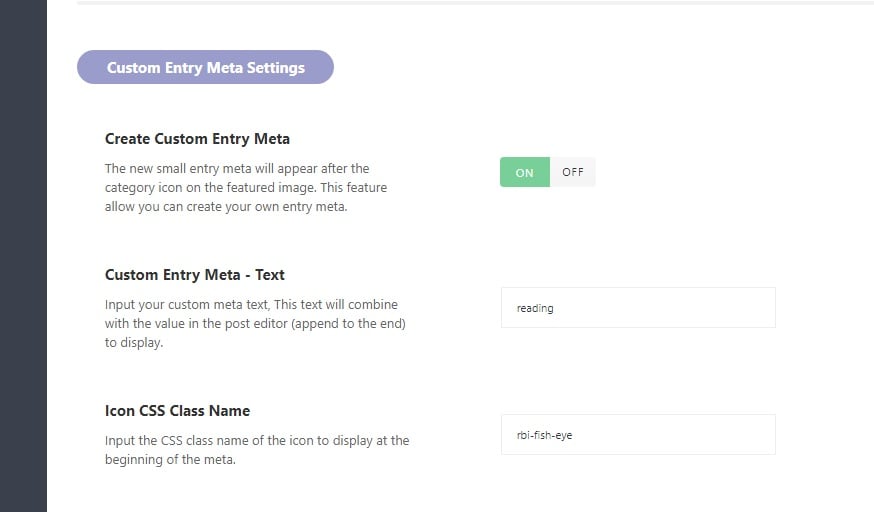
- Input your end-fix text for your meta.
- Input the icon name if you want to show before the meta. To find the name, Refer to the font icon: https://icons.themeruby.com/pixwell/
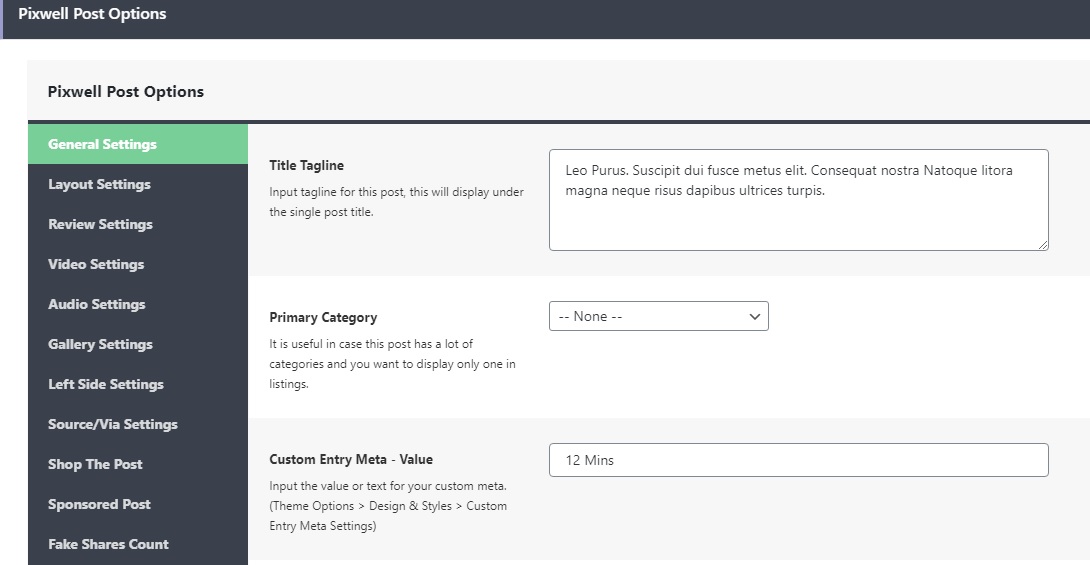
Add a Value for Your Post
- Navigate to Posts > All Posts, then select the post and click on the edit link.
- Input a value into Custom Entry Meta – Value under then Pixwell Post Options panel.
Showing the Custom Meta
For blog listing:
- Navigate to Theme Options > Module Designs
- Select the layout you wish.
- Navigate to the Entry Meta Info setting.
- Drag and drop the CUSTOM label to the Enabled section.
- Save you changes.
You can refer to Modules Design & Styling for further information
For Single Post
- Navigate to Theme Options > Single Post Settings
- Open then Styles & Design subpanel, then find the Entry Meta Bar Manager.
- Drag and drop the CUSTOM label to the Enabled section.
- Save you changes.
You can refer to How to Config Entry Meta Info in Single Post? for further information.