
The Foxiz – Popup Template block allows you to create customizable popups, enabling users to view highlighted content with just one click. This block is perfect for showcasing essential elements like menus, popular posts, or any other standout content you want to emphasize.
Part 1: Creating Content for the Popup
- Navigate to Templates:
Go to Ruby Templates > All Templates in your WordPress dashboard. - Create a New Template:
Click the “Add New Template” button. This will redirect you to the Elementor editor. - Insert the Foxiz – Popup Template Block:
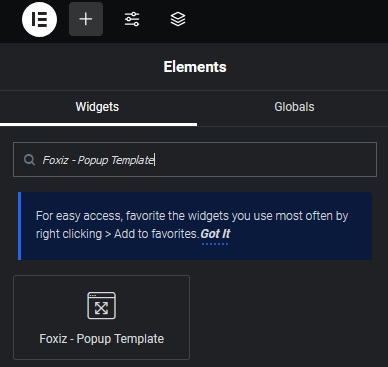
- Search for the block named “Foxiz – Popup Template” in the Elementor widget panel
- Drag and drop it into the editor area.
- Search for the block named “Foxiz – Popup Template” in the Elementor widget panel
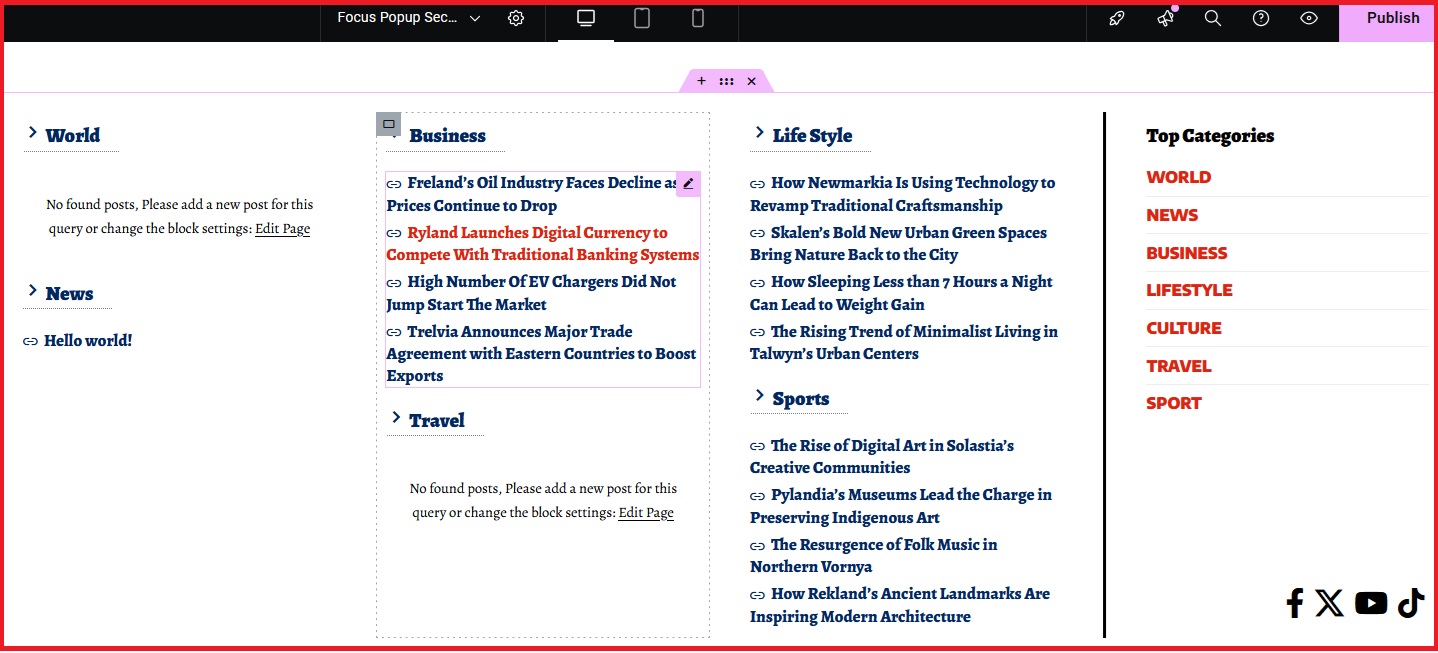
- Customize the Popup Content:
- Add elements you want to display in the popup. For example:
- Menu blocks to guide users to key categories.
- Popular posts list.
- Any other content you want to highlight.
- Style the content according to your preferences (colors, layout, fonts, etc.).
- Add elements you want to display in the popup. For example:
- Save the Template:
- Click “Publish” to save the template.
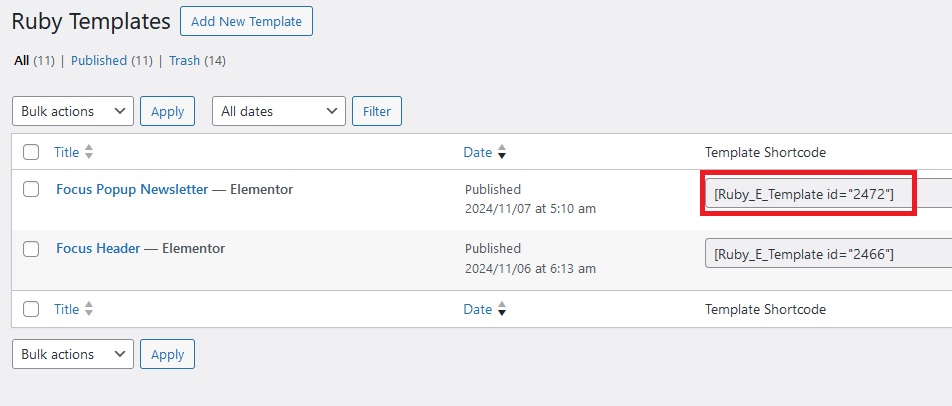
- Go back to Ruby Templates > All Templates to find the shortcode of the template you just created.
Part 2: Adding a Button to Trigger the Popup
Create a button in the header (or any desired location) that users can click to open the popup.
- Edit the Target Template:
- Navigate to Ruby Templates > All Templates.
- Select Header Template (or any other template where you want the button to appear) and click “Edit with Elementor”.
- Insert the Foxiz – Popup Template Block:
- Search for the block “Foxiz – Popup Template” in Elementor.
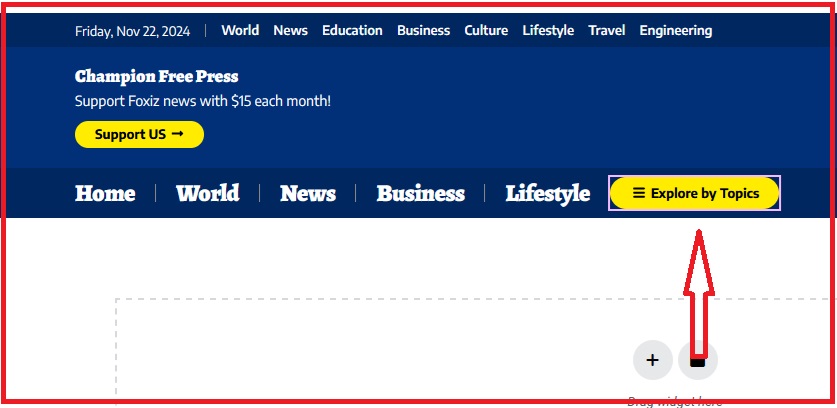
- Drag and drop it into the area where you want the button to appear
 .
.
- Configure the Popup Settings:
- Go to the Content tab in the block settings and set the following:
- Popup Content Template or RAW HTML: Paste the shortcode of the popup template created earlier.
- Trigger Button Label: Enter the button text, such as View Highlights.
- Trigger Button Icon (SVG Attachment): If needed, input the URL of an SVG icon to display it next to the button label.
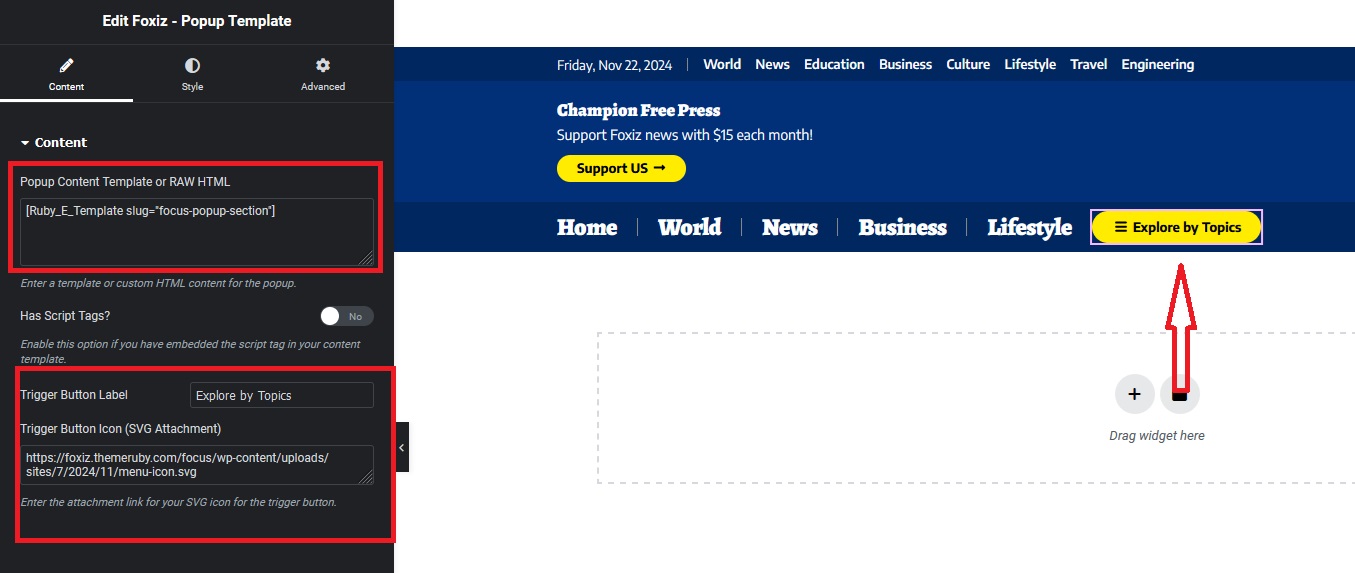
- Go to the Content tab in the block settings and set the following:
- Click “Publish” to apply the changes.
