
The Foxiz registration block allows you to create a fully customized and professional registration page that aligns with your branding.
Step 1: Create the Registration Page with Elementor
- Open Elementor: Start by creating a new page in WordPress and editing it with Elementor.
- Search for the Registration Block: In the Elementor editor, search for a block named Foxiz – Registration Form.
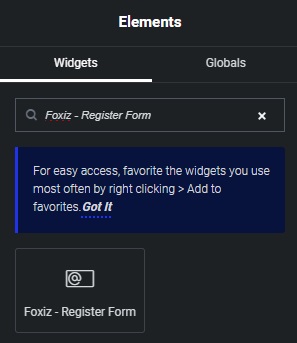
- Add the Registration Block: Drag and drop the Foxiz – Registration Form block into your page.
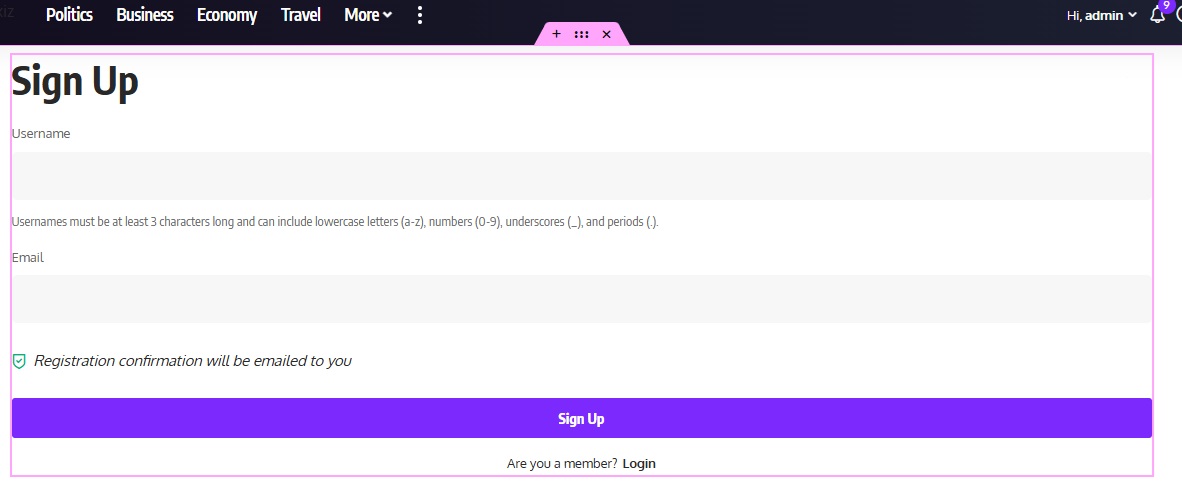
- Customize Your Registration Page: Use the Elementor tools to style and design your registration page to make it visually appealing. Adjust colors, fonts, and layout to match your branding.
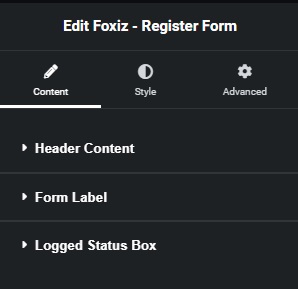
- Adjust Registration Block Settings: On the left sidebar of the Elementor editor, explore the settings for the registration block. Make changes as needed to align with your preferences and functionality requirements.
Step 2: Set the Custom Registration Page
- Access the Foxiz Admin Panel: Navigate to Foxiz Admin > Login > Custom Registration Page URL.
- Enter the URL: Input the URL of the custom registration page you created with Elementor.
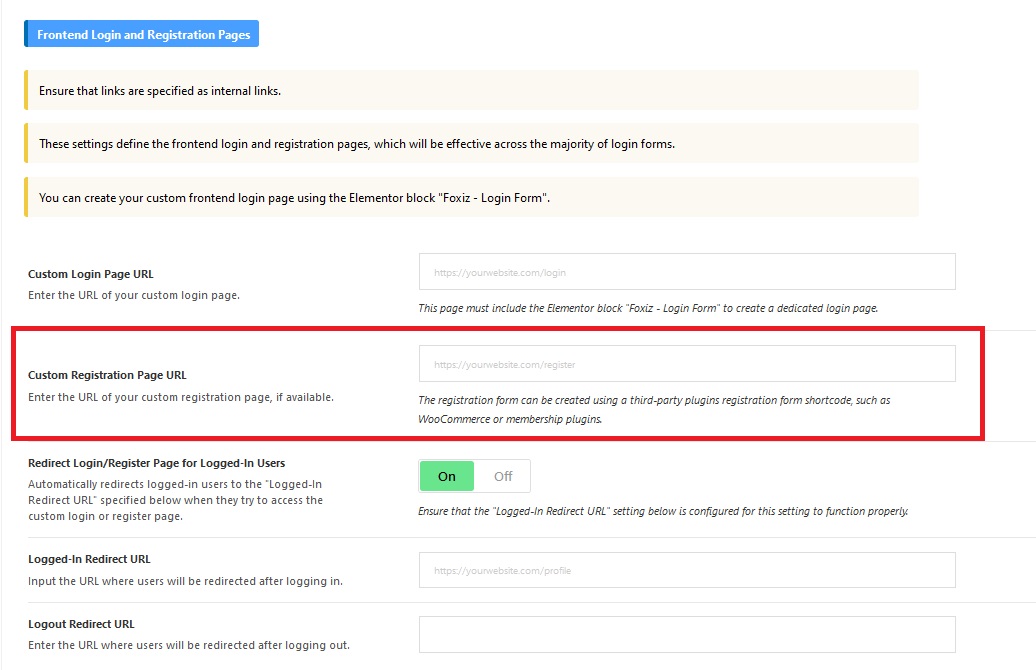
- Save Changes: Confirm and save your changes to replace the default WordPress registration page with your new custom registration page.
Your new registration page is now active and ready for use!
