
The lightbox feature is a built-in function of Elementor. To activate this feature within the content of a single page, you need to use at least one Elementor element on any part of the single post, such as: the mega menu, sidebar template, footer template, single template, or related template.
– To use the single template, please refer: “How to Structure a Single-Post Layout Using a Single Template.”
– To use the sidebar template, please refer: “How to Add a Ruby Template to Sidebar.”
– To use the custom Mega menu, please refer: “How to Create a Custom Mega Menu Using Ruby Template.”
– To use the footer template, please refer: “Footer Builder.”
Enable the lightbox feature in Elementor:
- Upload your image to the media library in WordPress.

- In the post editor, click on the “Open Media Library” button and select the image you want to add to the post.
- In the “Attachment Details” panel on the top, click on the “Link to Media File” option. This will ensure that the image links to the full-size version of the image, which will be used by the lightbox.

- Publish or update the post.
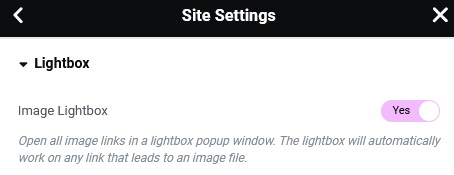
- To enable Lightbox in Elementor: From any Elementor page or post, click the hamburger menu in the upper left corner of the Widget Panel, then navigate to Site Settings > Settings > Lightbox.

- Image Lightbox: Slide the switch to enable or disable the lightbox globally.
You can refer to the official documentation of this feature here: Lightbox