
The theme supports custom gallery post type that allows you to show an array of images with the lightbox popup effect.
To getting started, Follow the steps below:
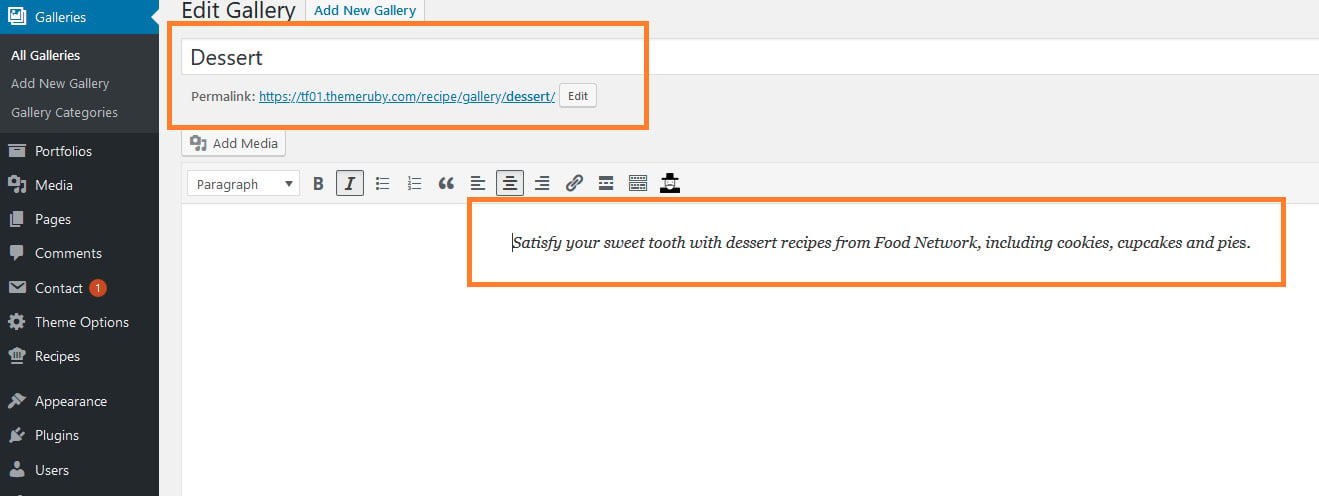
- Navigate to Your Dashboard > Galleries > Add New Gallery
- Input the title and description for this gallery post type.
- Set the featured image for this gallery post type.
- Assign a category for this gallery.
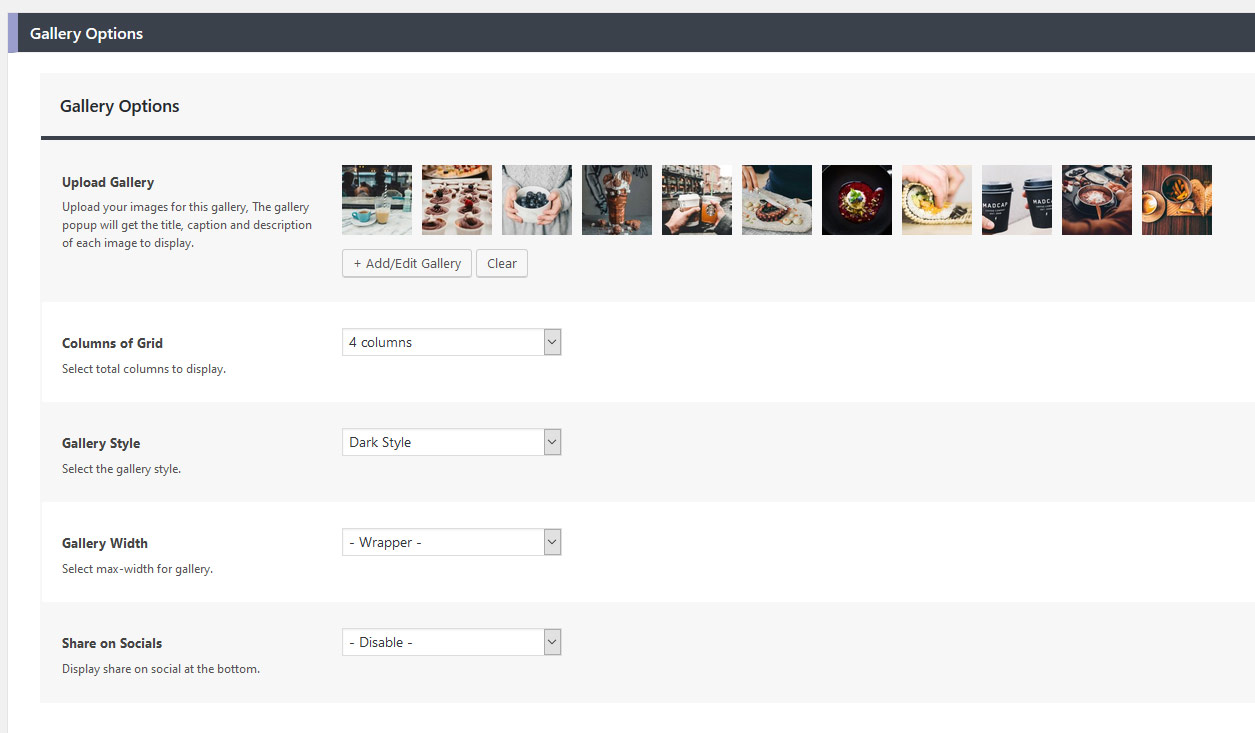
- Scroll down to the bottom to see the Gallery Post Type Settings. then click on the “Add/Edit Gallery” to upload your images.
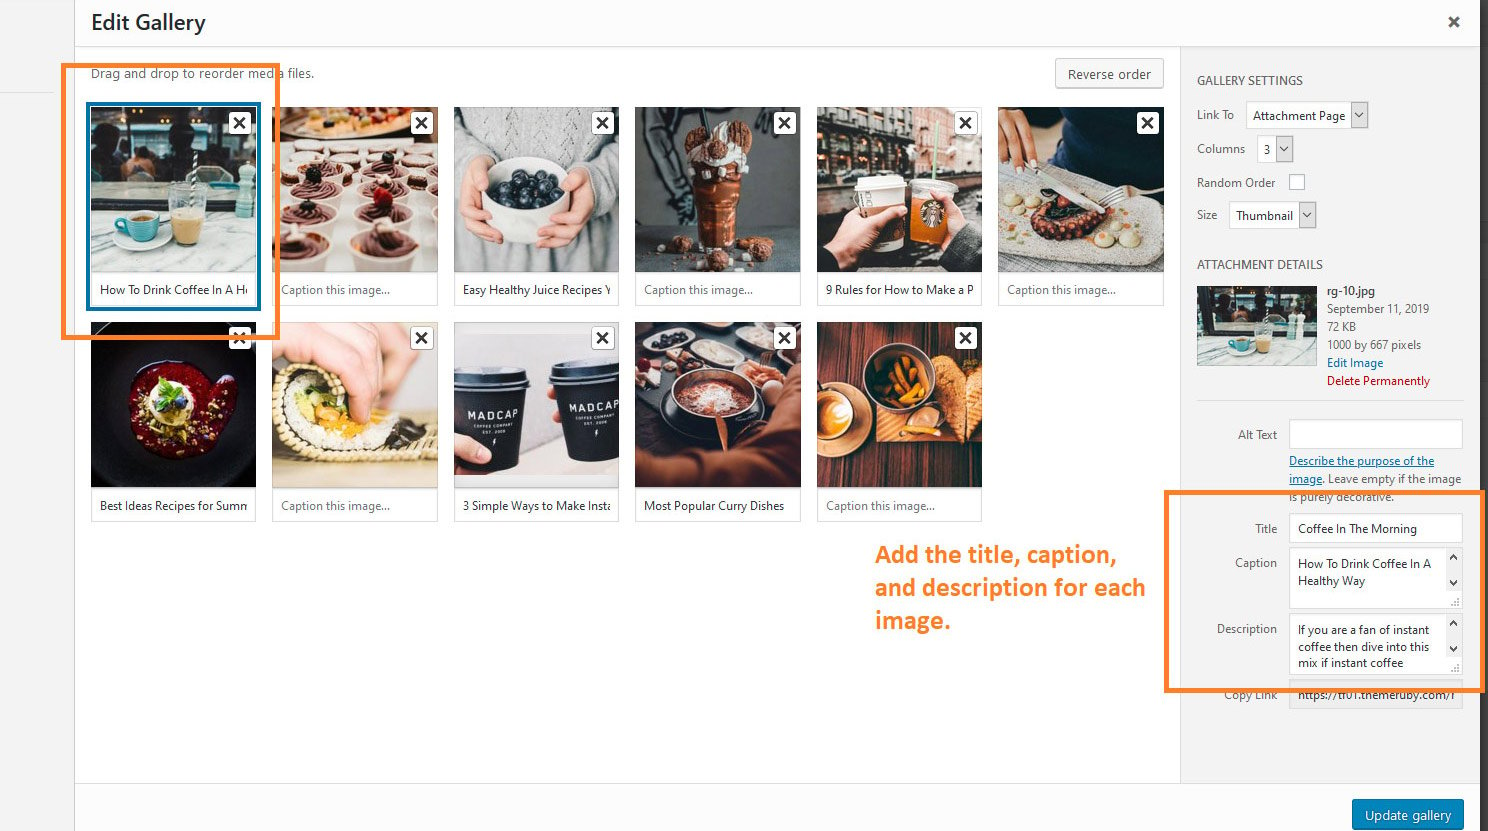
- Select each image you added, then input needed information: Title, Caption, and Description, it will be shown on the lightbox.
- Click on the “Publish” button to create a new gallery post type.
Display a Gallery in Main Menu
After creating a gallery, you may need to show it in the main menu. To gettings started, Follow the steps below:
- Navigate to Appearance > Menus.
- Select the main menu of your site to edit.
- Refer to the left side section to find Galleries Tab.
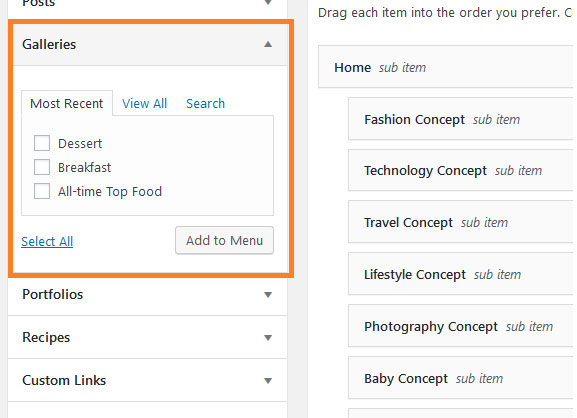
- Add a gallery you would like to the menu.
- Update the menu to save your changes.
Editing Gallery Permalinks
By default, the gallery permalinks will be shown as below:
- Single gallery: https://yoursitename.com/gallery/your-single-gallery
- Category gallery: https://yoursitename.com/gallery-category/your-gallery-category
However, you can edit this permalink to what you need.
To gettings started, Follow the steps below:
- Navigate to Theme Options > Gallery Settings.
- Input your permalinks under the Gallery Permalinks and Gallery Category Permalinks options.
- Save your changes.